
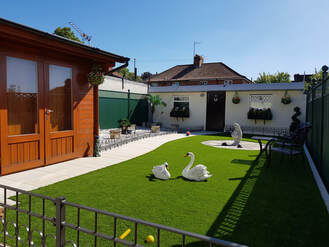
Artificial grass is becoming ever more popular as quality continues to go up and prices continue to come down.
Whilst some people are rightly concerned about the loss of real 'green space' in urban neighbourhoods there are certainly situations where artificial is the best or only option.
A very small space for example, where a mower is not practical, is a good candidate for artificial grass, as are spaces where there is lowe light or drainage issues.
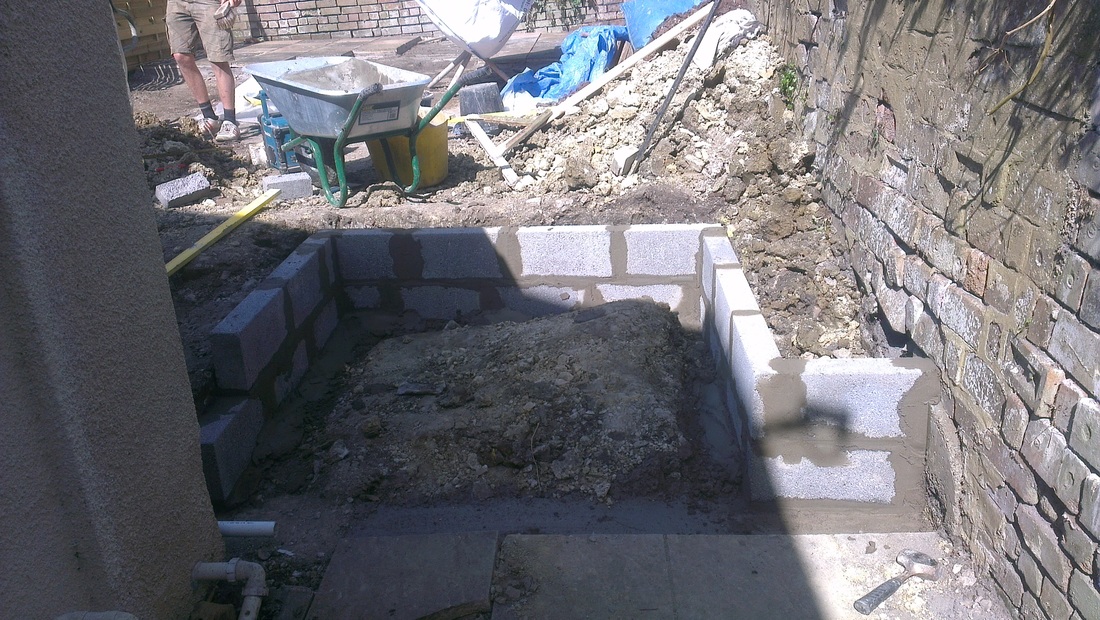
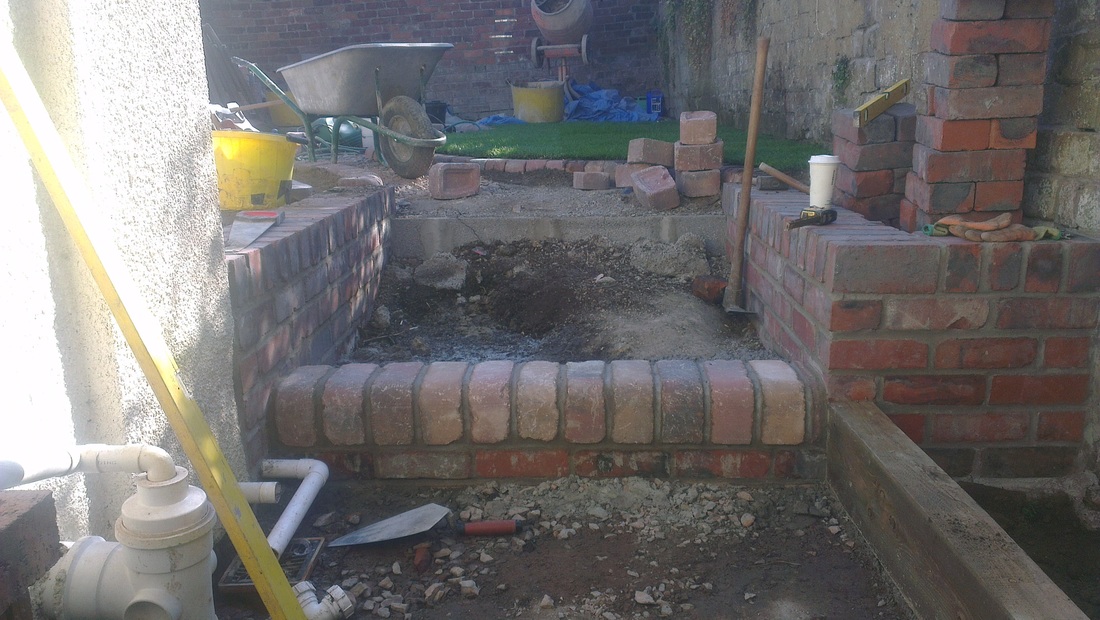
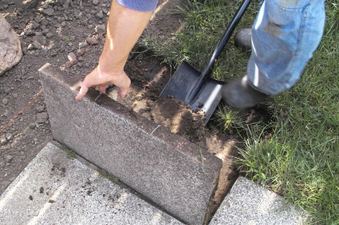
STAGE 1 - EXCAVATION
If you are trying to recreate a similar finished height to what is already there then be prepared for a significant amount of excavation. Depending on ground conditions you are going to need to dig down around 15cm before you can begin resurfacing.
Over a large area this can translate into a lot of soil, earth etc and you are likely to need skips, wheelbarrows and some energetic friends!
Before you start it might be worth calculating roughly what kind of weight of soil you are looking at excavating. If you measure the area in square metres (e.g. 5m by 8m comes to 40 square metres) and then multiply by the depth (e.g. 0.15m) then you will get a cubic metrage of soil etc that needs to come out. Double this and this will be a reasonable estimate in tonnage. So for our example there will be 6 cubic metres or 12 tonnes which equates to around two regular size skips.
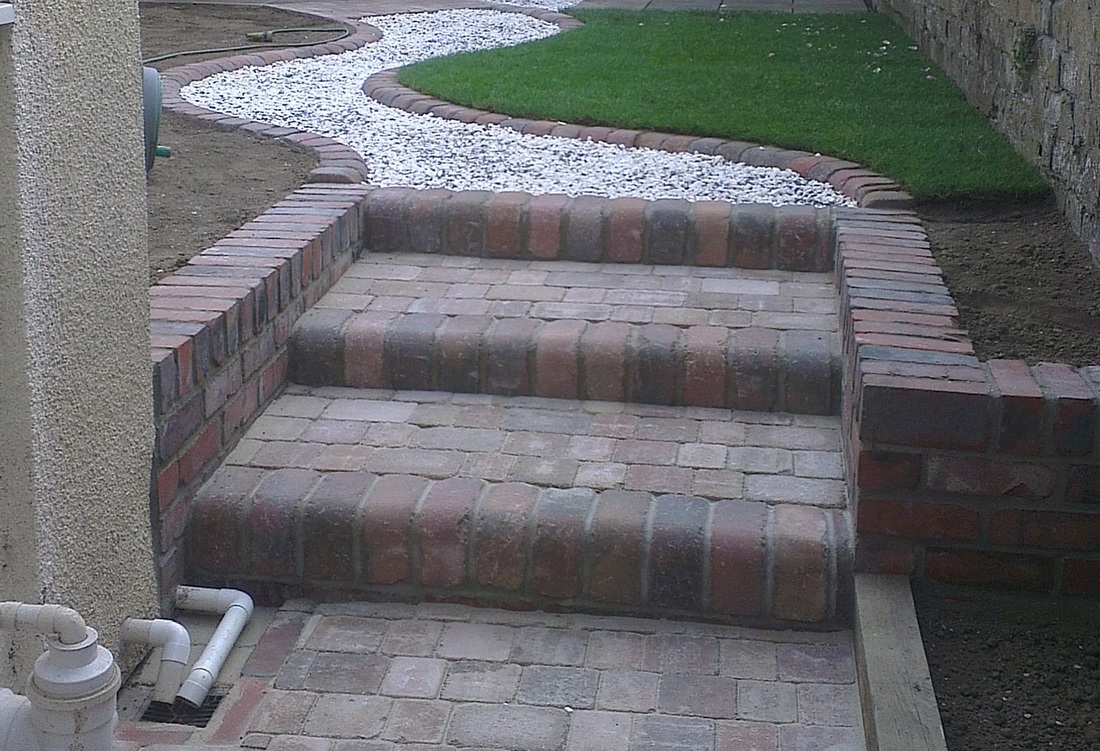
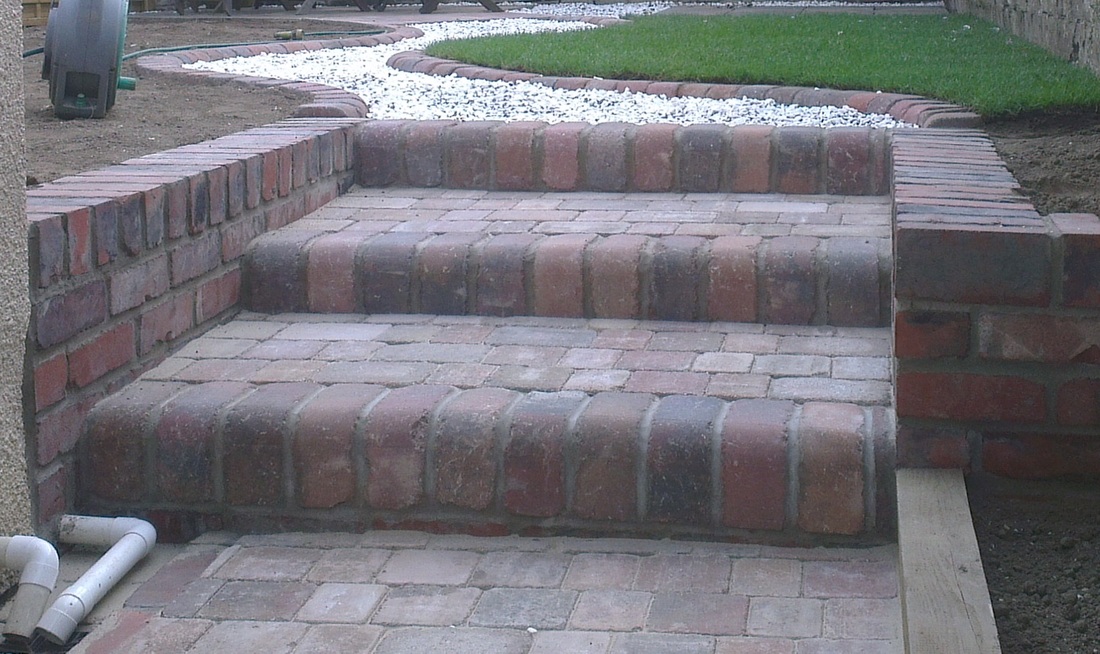
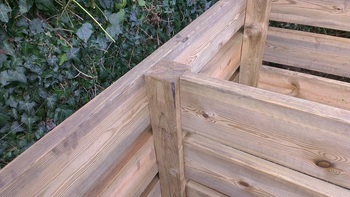
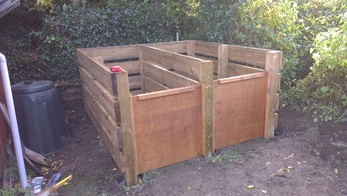
Rather that carry out labourious excavation another option is to raise the ground up, although this will genrerally involve constucting low retaining walls.
STAGE 2 - SURFACE PREPARATION
This stage ensures long term stability and sufficient drainage for your new lawn. Trying to cut corners here can result in a waterlogged or uneven surface in the future.
Existing soil conditions will have an impact on stability and drainage and so should be taken into account. A heavy clay soil will, for example, provide additional stability but poor drainage with a softer, sandier soil providing the opposite conditions.
A good rule of thumb is to install a layer of compacted stone ('type 1' or 'hardcore') approximately 10cm thick. It is important to use a vibrating 'whacker' machine to provide a sufficiently solid base and to compact in layers of no more than 5cm each. 1 tonne of type 1 stone will provide a compacted depth of approximately 10cm over 5 square metres so for our example we would need a total of 8 tonnes.
Next comes the layer of 'grit sand' on which the artifical grass itself is installed. This should be installed at a compacted depth of around 30mm. 1 tonne of grit sand will provide this depth for approximately 15 square metres. The sand should be installed a little deep and then 'screeded' to the required level using a large piece of timber or similar.
STAGE 3 - INSTALLATION
Artificial grass generally comes in rolls 2m and 4m wide and so if one of the dimensions of your new lawn is larger than 4m you will need to attach two or more rolls together. This takes some skill and precision and you may want to get professional help with this.
If, as in our example garden, a single roll is sufficient then this should be carefully rolled out over the compacted sand and fixed down.
There are two main methods for fixing artificla grass down in place. The first is by installing a perimeter timber frame with the timber flush with the compacted sand. The grass can then be tacked down all the way around. Another option is to create a concrete rim around the perimeter and use a suitable adhesive.
Finally the grass is dusted with a very fine sand known as 'kiln dried' sand and this is brushed in until no more can be accomodated. Be sure to do this in very dry weather when there is no moisture around.
 RSS Feed